

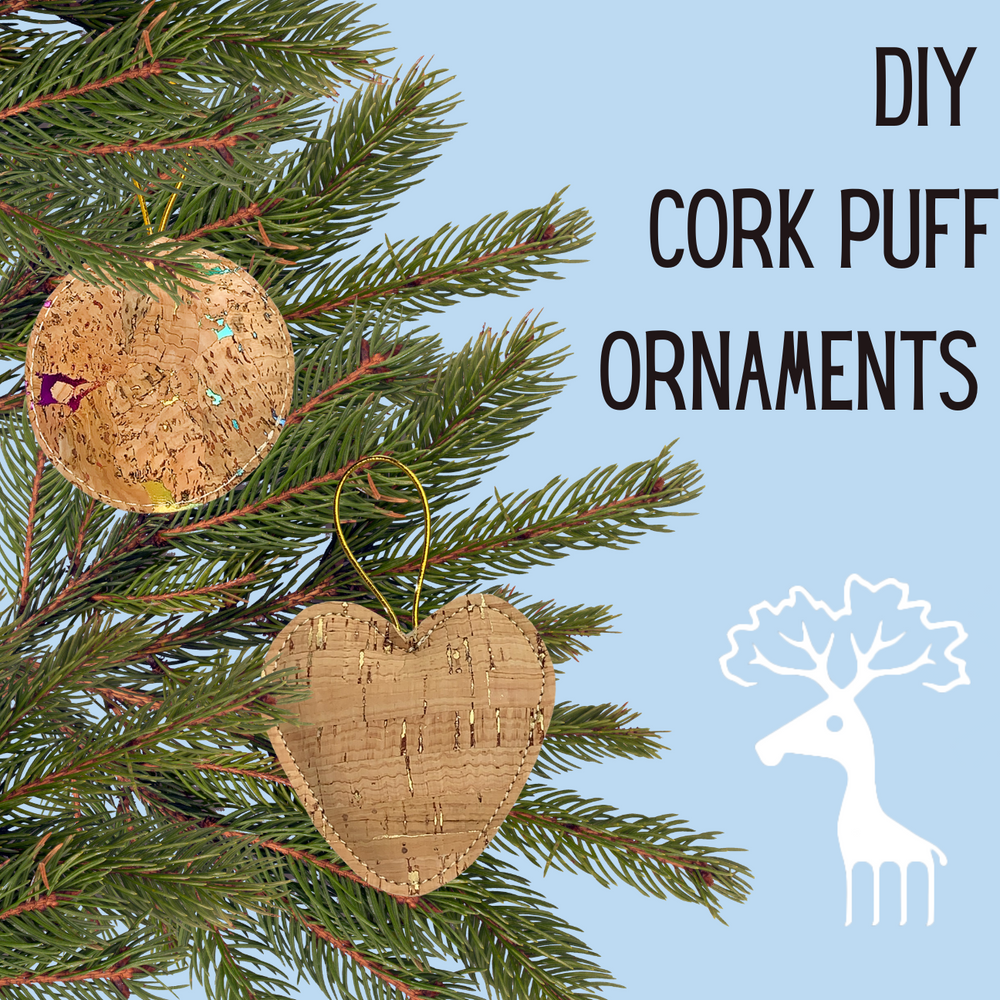
Add a dash of sustainability to your holiday decor with these quick cork puff ornaments. These soft, plush ornaments can be flat-packed to save space in your holiday decorations box and won't shatter like glass blub ornaments. I love how quickly and easily these ornaments come together. I would rate this as a beginner-friendly project.
Supply List
- cork fabric scrap box
- 1/2 yard of batting (or batting scraps)
- 6in of elastic or ribbon per ornament
- scissors
- cookie cutter, die cutter, or stencil
- spool of polyester thread
- sewing machine
- fray check
- fabric pen or sharpie
- optional decorative thread
- optional quilting ruler
Step One: Gather Supplies
Once you gather your supplies, you are ready to get started crafting!!

Step Two: Trace Stencil/Design
Once I gathered all my supplies, I looked at the fabric scraps and stencils/templates to see what would fit best on what fabric. I chose to use a lid for the ball ornaments and a star template I cut out of cardboard. The gingerbread man cookie cutter I had didn't fit my fabric well, so I elected not to use it.

Usually, I would only use a fabric marker on fabric; however, none of the fabric markers I had were showing up well on the fabric or the batting. So instead, I opted to use a sharpie on the wrong side of the fabric and then cut on the inside of the line. When marking the batting, I used only light pressure with the sharpie to avoid distorting the batting.

Step Three: Cut Fabric & Batting
Using sharp fabric scissors, I cut the fabric and the batting along the line I drew in the previous step. I found it easier to cut each layer individually.

Step Four: Cut Ribbon or Elastic
I chose a ribbon or elastic for each ornament that best matched the fabric. From there, I laid the ribbon on a quilting ruler and cut at just over the 6-inch mark.
If you are looking to make a scrapy version of the cork puff ornaments, many companies use ribbon when packing orders. I keep a jar in my sewing room where I put the ribbon scraps to use in projects!

Step Five: Pin Batting, Fabric, and Ties Together
Once I cut everything, I lined up each layer as follows.
Right Side of Cork Fabric Facing Out
Batting
Ribbon or Elastic
Right Side of Cork Fabric Facing Out

I used wonder clips to keep the layers together for the star ornaments while sewing. However, I ended up not using any pins or clips for the ball ornaments.
Step Six: Sew 1/4in Away from Edge
I used a 2.5mm straight stitch and followed the edge of the fabric for a quarter-inch seam. I used an edge guide foot on my machine, which made it much easier to keep the stitching smooth along the edge. If you don't have an edge guide, most machines will let you move the needle so that the edge of the foot will line up a quarter inch away.

I used a vibrant green decorative embroidery thread on the navy cork fabric to provide an extra pop of color.

Step Seven: Trim Edges
I carefully trimmed the edges of the ornament to smooth the three layers of fabric and ensure everything was even. To avoid cutting the hanging loop, I folded it to one side to cut the fabric on either side.

Step Eight: Apply Fray Check to the Edges
Finally, I liberally applied fray check to the edges of the ornament. This will prevent any fray from the batting or fabric and seal the ornament.
Here are the finished ornaments!
Ready to make your own cork puff ornaments? Click here for our cork fabric scrap box!